I've figured it's about time I made a gluten-free version, which should be pretty easy since there isn't much gluten in them to begin with. I have a small silicone mold that I bought a while back, and I thought it would be perfect for these financiers. It has square molds, and I thought that would perhaps be pretty, compared to the usual long rectangle shape of financiers.
First time around, I filled the molds almost all the way to the top, and after baking them twice as long as directed, they were still raw in the bottom. I had to throw my entire first batch in the trash. Boo! :( So, I've learned a couple of things while making them, and I've included these tips in the recipes below.
Financiers
Ingredients- 100 grams TPT (50 grams almond flour, 50 grams sugar, mixed well)
- 170 grams powdered sugar, sifted
- 50 grams all-purpose gluten-free flour*, sifted
- 130 grams egg whites (about 4.5 large eggs' worth)
- 175 grams buerre noisette (brown butter)
- Preheat the oven to 375 degrees F.
- Melt the butter on the stove on low heat. Boil until the butter begins to separate, and the solids sink to the bottom and turn brown. Remove quickly from heat and pour through a sieve or cheesecloth into another container to cool. Let cool to at least 40 degrees C (85 degrees F). It is important to keep a close eye on this because it can begin to burn very quickly. Pouring it through a sieve will remove all of the solids that you don't want in your buerre noisette.
- Whisk together all of the dry ingredients until they are well incorporated. Then put the dry mixture in your kitchenaid with the paddle attachment.
- Gently whisk the egg whites a little, and then add them to the dry mixture in the kitchenaid. Turn on low-medium speed and mix well.
- With the mixer on low speed, slowly pour the cooled brown butter into the kitchenaid and allow it to mix until the butter is well incorporated.
- Brush the molds with a little bit of leftover brown butter or spray with cooking spray. If using a silicone mold, place it on a flat baking sheet before filling it. If you do not have silicone molds, you can also use mini tart molds or mini muffin tins.
- Pour into a piping bag with a medium-sized round tip and pipe into the molds. If the molds are deep, like mine, be sure not to pour more than 1/8-inch or so of batter into each mold. When filled, tap the mold against the counter to settle the contents evenly.
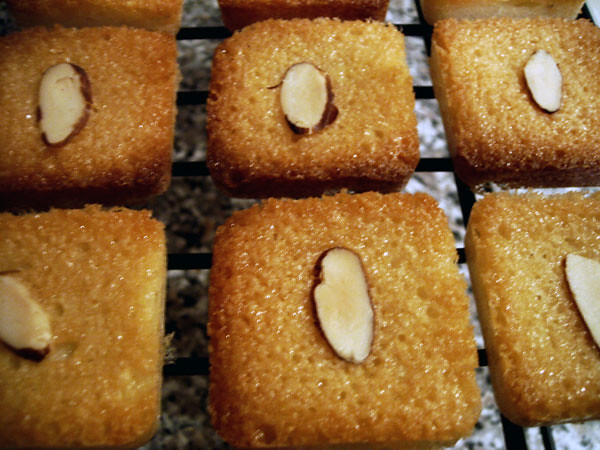
- Bake for 4-5 minutes, then remove from oven and place an almond slice (or berry, if you like) on each. Then put it back in the oven for another 4-5 minutes. The baking time will vary depending on how much batter is in your molds, and their material. I believe my mold is a bit thicker than the ones we used at school, so I actually had to bake mine for about 20 minutes total. Just continue watching them, and add a couple of minutes at a time, until they are nicely browned on the top. Then remove them from the oven to cool on a rack.
Here's the part where I ate a couple, because they're just so hard to resist. The powdered sugar in the recipe gives them a distinct crispy, chewy edge that is so familiar In a lot of French baking.
While they're cooling, you can prepare the cream!
Vanilla Whipped Cream Frosting
Ingredients- 2 ounces cream cheese, softened
- 2 tbsp sugar
- 1/2 tsp vanilla extract
- 1/2 cup heavy whipping cream
- To make sure your cream cheese is softened enough, feel free to put it in the kitchenaid with a paddle for a minute or two.
- Switch to the whisk attachment and add the sugar and vanilla. Mix until smooth and creamy. You'll probably need to scrape the sides with a rubber spatula a few times during the process.
- Once it is well mixed, set the mixer to low and slowly pour in the heavy whipping cream.
- Continue whipping (you may want to up the speed a little) until it is well mixed and the cream forms stiff peaks. Again, you'll probably want to scrape the sides a few times during the process.
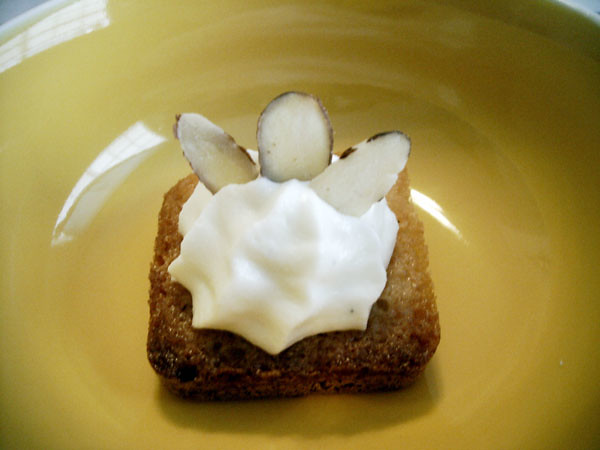
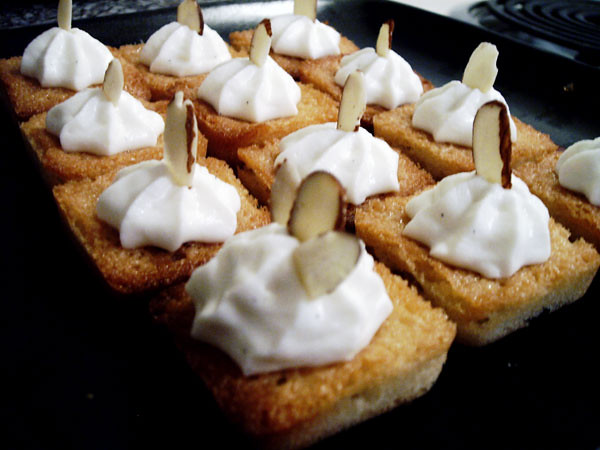
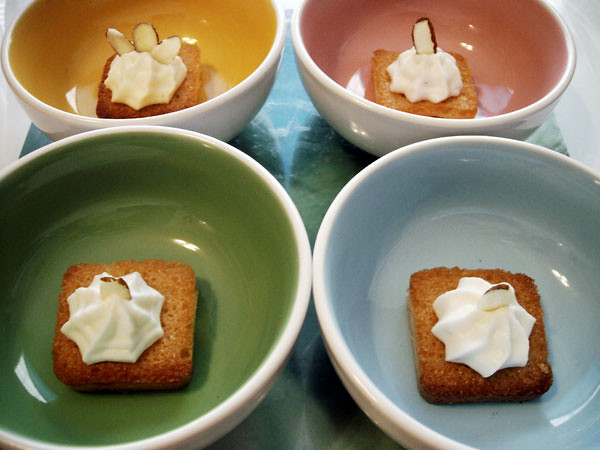
- When ready, prepare in a piping bag with your desired tip. Pipe onto each financier and garnish with an almond slice.


No comments:
Post a Comment